Our editors independently select these products. Making a purchase through our links may earn Well+Good a commission
Every so often, the beauty corner of social media provides some precious gems. For instance, peer pressure on different platforms has encouraged folks to wear their daily sunscreen. It’s also given us tips for exactly how much of that sunscreen we should be using on our faces. The newest treasure? Hair cycling. The process is making the rounds on #BeautyTok, where the hashtag has more than 160,000 views as of this writing.
I’m the type of writer who will do pretty much anything for a story, so I tried an extensive hair cycling routine for two weeks to see what effect, if any, it would have on my loose curls. To my surprise, I noticed that my curls were bouncier—on wash day and days after. I also caught that I had less dandruff and dryness between my weekly washes.
If that sounds like something you can get on board with, keep reading to learn what hair cycling is, things to consider before trying hair cycling for yourself, and what exactly happened during my own experiment.
What is hair cycling, and what are its benefits?
“Hair cycling is basically a rotation of products, or changing up a multi-step process that helps to keep hair performing at its optimal levels,” says haircare specialist and scalp expert Philip B, founder of Philip B Hair Care.
Since our hair is a living organism made up of proteins, myriad lifestyle factors affect its health and appearance. “Hair changes according to seasonality, stress, environment, [and] nutrition,” says Philip B, “and that, in turn, affects hair’s pH, strength, elasticity, shine, bounce, how much sebum [or oil] it produces, how it reacts to products, and overall performance.”
“Cycling is all about keeping the best products working for your hair, delivering what they need when they need it most, and giving hair and scalp a break or reboot,” he adds. According to Philip B, the process “can help to improve the health of your scalp and hair, as hair cycling involves giving the hair a much-needed rest period or break from some products.”
Before trying hair cycling at home
Hair cycling isn’t even remotely “one shampoo fits all,” says Philip B. “A refresh or cycling can be done in a variety of ways, including rotating shampoo and conditioners, using a clarifying shampoo, adding in hot oil repair treatments, or a full styler detox.”
Regardless of your hair type, “You need to monitor the condition of your hair and adjust your routine based on the hair becoming flat, heavy, dull, dehydrated, lackluster, breaking, or losing its elasticity,” says Philip B. “In general, ongoing advice is to alternate clarifying, moisturizing or hydrating, and repairing methods.”
I, a curly-haired girl, tried hair cycling for two weeks

Prior to embarking on this journey, I admittedly didn’t have much of a hair-care routine. Frankly, I was just shampooing and conditioning my mane once a week. I can count on one hand the number of times I’ve used a hair mask (three, in case you were curious), and I don’t apply any hair products with regular frequency.
While Philip B gave me some great insight into what hair cycling is and how it’s generally done, I tapped an additional hairstylist to get recommendations for my individual hair concerns. When I shared with Al Campbell, a Chicago-based hair and extension stylist, that my curls weren’t super bouncy and that my scalp skewed dry, he quickly tailored a routine to revive my luscious locks.
“For you, hair cycling is going to be an alternation between catering to your scalp and nourishing your hair with moisture and hydration, which you’ll do with shampoo and conditioner,” says Campbell. He also gave me a full breakdown of which products I would need to use during my hair cycling experiment: a pre-cleanser; a moisturizing shampoo and conditioner (for week one); an intense moisture hair mask; a hydrating leave-in conditioner; a silky hair oil; and a shampoo and conditioner for scalp care (to be used during week two.)
Breaking down my 7-step hair cycling process
1. Start with a pre-cleanse
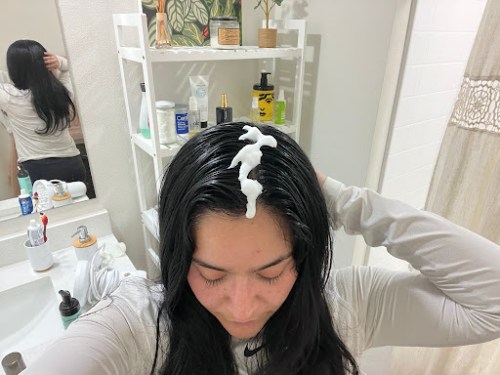
“Step one is the pre-cleanse,” says Campbell. “While your hair is dry, you’re going to apply that all over your scalp, especially in the areas where you see the most dryness and flakiness.” This, he adds, helps exfoliate and cleanse the scalp while prepping it for the shampoo.
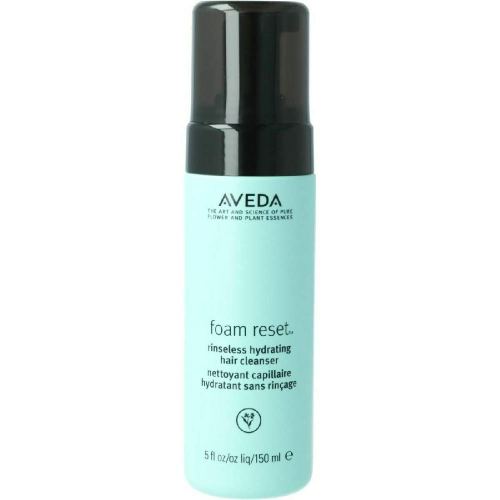
I part my hair in one-inch sections, starting where I normally do my part, and then slowly massage the Aveda Foam Reset Rinseless Hydrating Hair Cleanser ($36) into my scalp, which feels and smells amazing. Since I have a lot of hair, this step takes me about 12 minutes: 10 minutes to apply the product throughout my scalp and two minutes to let the pre-cleanse sit, which Campbell suggests I do. My hair feels good and fresh once the foam settles.
Aveda, Foam Reset Rinseless Hydrating Hair Cleanser — $36.00
2. Rinse out the pre-cleanse and apply a moisturizing (or clarifying) shampoo
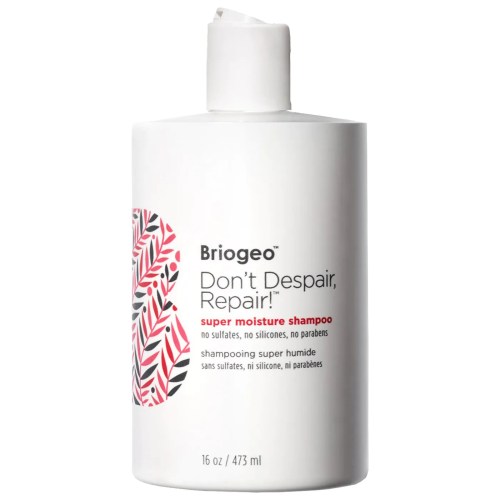
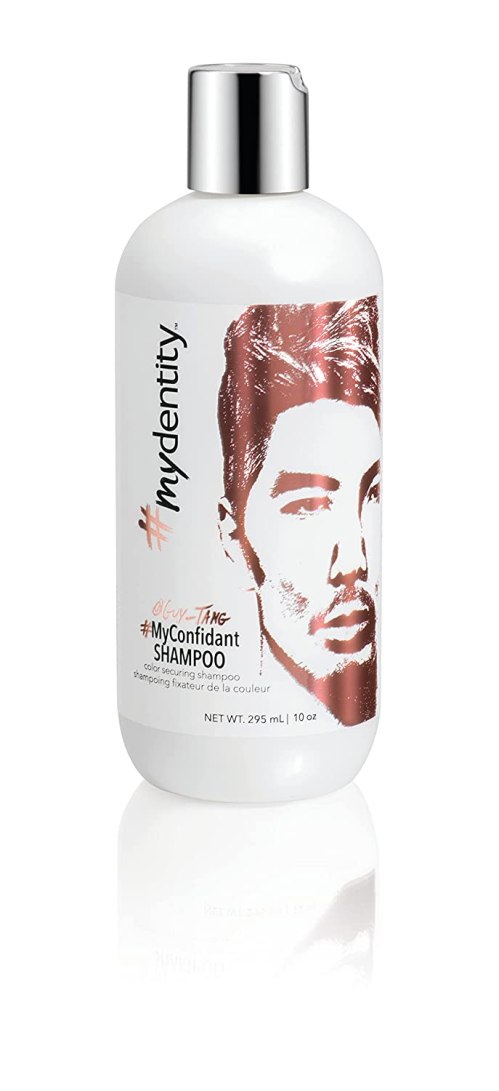
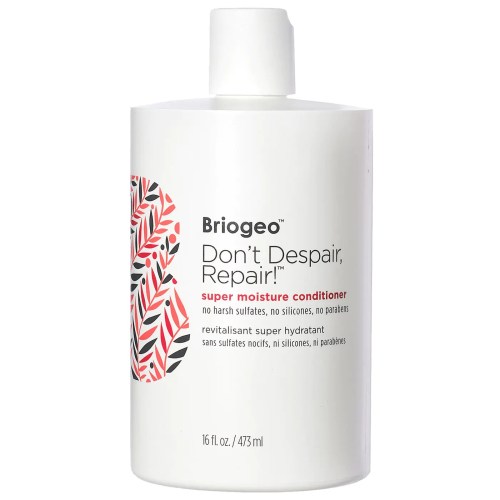
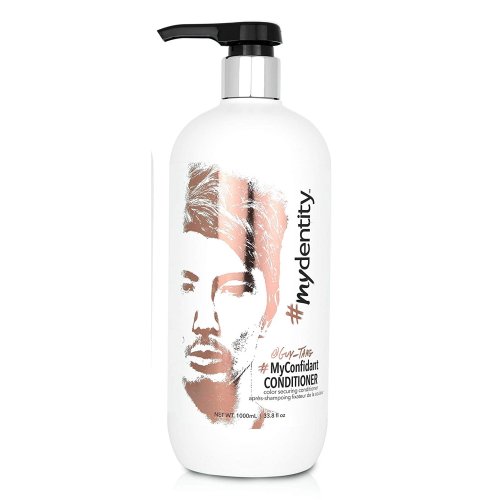
Since my hair concerns included a dry scalp and less-than-bouncy curls, you’ll remember that Campbell asked me to use a moisturizing shampoo and conditioner on week one; I went with the Briogeo Don’t Despair Repair Super Moisture Shampoo ($39). For week two, which Campbell decreed my scalp care era, I used the Guy Tang #Mydentity #MyConfidant Shampoo ($23).
“Once you’ve rinsed [the pre-cleanse] out,” says Campbell, “your strands of hair should be saturated with water so that you get a good lather on that first shampoo.” He suggests that I should apply product starting “across the center of the crown of the head because that’s the thickest part of your hair.” Pro tip from Campbell: shampoo twice. When I did this, I found my hair felt so much cleaner, but not necessarily stripped of its natural oils.
Briogeo, Don't Despair Repair Super Moisture Shampoo — $39.00
Guy Tang, #Mydentity #MyConfidant Shampoo — $23.00
3. Rinse out the shampoo and apply a hair mask
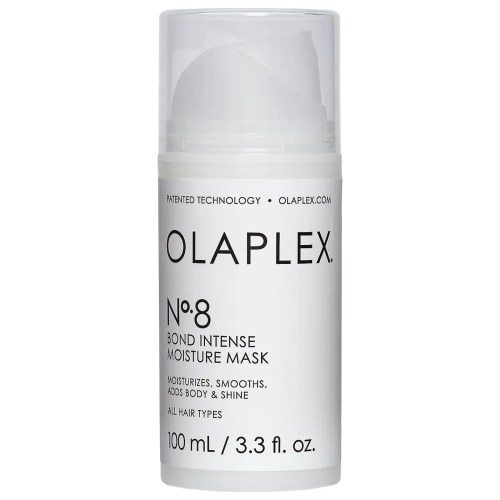
Since I’ve heard all the buzz about how great Olaplex is for curls, and since Campbell advised that I use an intensive hair mask between my shampoo and conditioner, I tested the Olaplex No 8 Bond Intense Moisture Mask ($30) during my hair cycling experiment. For this step, Campbell says I should “wring the excess water out before applying the mask and apply the mask starting at the ends of your hair, working your way up closer to the base.”
He adds that this step isn’t scalp-centric, so I’m careful not to slather my scalp with the moisture mask. “Work the mask through with a detangling brush and put a shower cap on or clip your hair up.” I clipped my hair up, left this on for about 10 minutes (during which I turned off the water and shaved all over, TMI as that might be), and then rinsed it out to apply my conditioner. When I rinsed the mask out, my hair felt thicker—seriously.
Olaplex, No. 8 Bond Intense Moisture Mask — $30.00
4. Rinse out the mask and apply conditioner
Since I used the Briogeo moisturize shampoo, I figured I’d supplement it with the Briogeo Don’t Despair Repair Super Moisture Conditioner ($39) for my moisture-rich week one. As for my second week of scalp-friendly hair cycling, I went with the Guy Tang #Mydentity #MyConfidant Conditioner ($21).
According to Campbell, I needed to apply the conditioner at my ends first and then work my way up to my roots. When I did this, I realized that it was easier for me to get the product all over my strands and not feel like there was a build-up of conditioner just chillin’ on my scalp. I’ll definitely be sticking to this technique moving forward.
Briogeo, Don't Despair Repair Super Moisture Conditioner — $39.00
Guy Tang, #Mydentity #MyConfidant Conditioner
5. Rinse out the conditioner and apply a leave-in conditioner
When you’re using a good leave-in conditioner, says Campbell, you’re going to get a product “that’s really going to help prime the strand. It’s also going to seal the strand, balance out the porosity, and even provide a little bit of moisture support,” he adds.
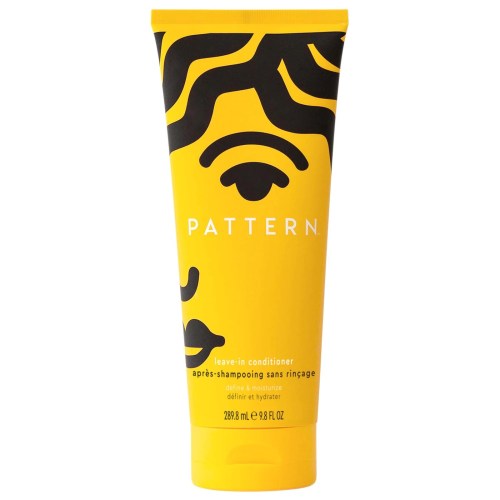
I went with the 25-ounce Pattern Leave-In Conditioner ($42), which comes out of a dispenser bottle and feels like the most hydrating hair product I’ve ever gotten my hands on. Even so, though, Campbell suggested I keep a spray bottle with water nearby because “you need to make sure that all parts of the hair are fully saturated and can receive the product. Otherwise, you’re just locking in frizz.”
My hair was extremely thankful for that tip.
Pattern, Leave-In Conditioner — $25.00
6. Start diffusing
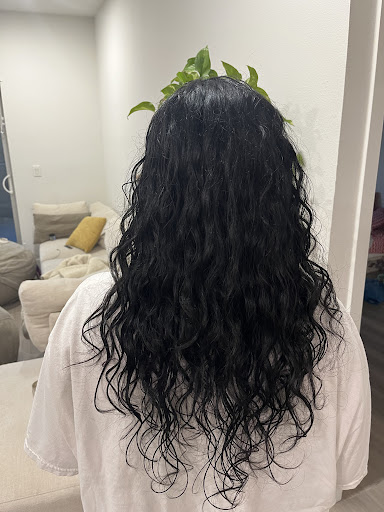
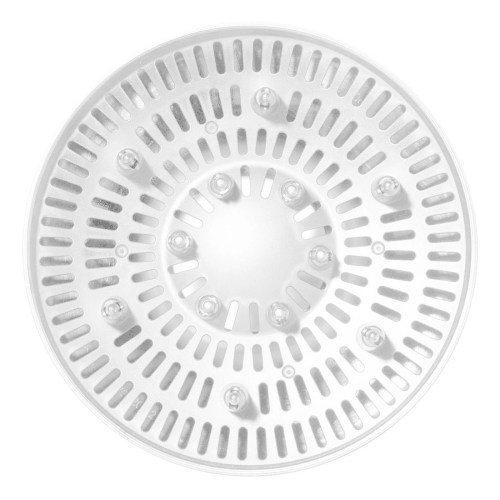
“Once you have styling product all over your hair, now you want to start to diffuse,” says Campbell. “When you start with your diffuser, don’t use your hands — just hover the diffuser over your head like a helicopter.” When I did this on a pre-approved high-wind, high-heat setting I could see the cast slowly starting to form.
“When your hair is about 50 percent dry, that’s when you can go in and start scrunching with your diffuser, but no hands,” advises Campbell. “Move your head around in different directions—you can go from side to side, flip your head down, and start building in that volume,” he adds. I didn’t touch my curls until they were about 80 percent dry, and even then I barely touched them. This, Campbell says, helps to prevent frizz.
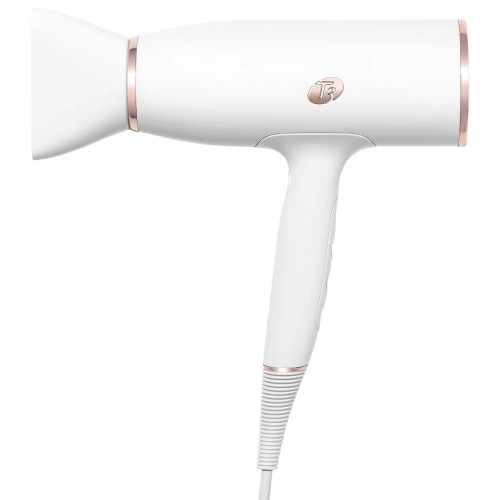
T3, AireLuxe Hair Dryer — $199.00
T3, Fit Diffuser — $25.00
7. Apply a light amount of hair oil
After hovering my T3 hair dryer over my head for what felt like an hour (but was only 25 minutes), it was about 90 percent dry. I decided it was a good time to finish my hair cycling day with the Ouai Hair Oil ($30). “Just like a dime- or pea-sized amount is good,” says Campbell, adding that I’d want to “saturate it all around your hands, even in between your fingers.”
From there, he says, “You just want to scrunch that oil into the ends of your hair to lock everything in and seal the strand.” Also at Campbell’s behest, I applied the oil when my hair was on day four, and I can confidently say that the shine was back, baby.
T3, AireLuxe Hair Dryer — $199.00
T3, Fit Diffuser — $25.00
Final thoughts
When all was said and done, I loved the results of my hair cycling experiment. I have to say that, at least for me, it takes forever—probably about an hour and a half all the way through—but I’ve spent that much time doing much worse things. Honestly, after these two weeks, I realized that this long and arduous process is well worth it because it’s just once a week, on a day of my choosing, and I get a lot of compliments on the bounce and shine of my curls.
I plan to keep up with my hair cycling regimen for as long as possible. In fact, if there’s a day that I am just too lazy to wash my hair in that almost two-hour process, I’ll just wait until the next morning and start my day off with a wash.
Sign Up for Our Daily Newsletter
Get all the latest in wellness, trends, food, fitness, beauty, and more delivered right to your inbox.
Got it, you've been added to our email list.

