Our editors independently select these products. Making a purchase through our links may earn Well+Good a commission
When you’ve been styling your hair a bunch, it can be a nice break for you and your stands to put your hair into a low-maintenance style like twists. Not only are twist hairstyles super cute, but they’re also a great way for you to spend a few days with a look that requires little to no upkeep. Jamal Edmonds, a celebrity stylist and Mizani Artist based in Washington DC, says they’re a great protective style.
Experts in This Article
celebrity hairstylist, Mizani educator, owner and creative director of Lamaj in the City and Boutique Lamaj
hairdresser and owner of Magic Fingers Studio
“Twists are a great style to help protect the hair because after the hair is twisted, it can be pulled up or back,” says Edmonds. “This is a great way to eliminate constant detangling and pulling. Clients often do twist styles to just give their hair a rest.”
Even if you’ve never twisted your hair before, it’s not too difficult once you get a hang of it. “Twisting your own hair can be hard for some people,” says Edmonds. “Having great finger dexterity definitely helps, but if you take your time, perfect your parting, use clips, and sit in front of the mirror, you could become a pro in no time.” The good news? It’s way easier than trying to do cornrows on yourself.
Edmonds explains that there are two really popular twist hairstyles: single two-strand twists and flat twists. Keep scrolling for what you need to know about perfecting each on your own.
Single two-strand twists
Single, two-strand twists are great because they’re like two styles in one. They hang from your head, which means you can shake them around, and they move as you do. Wear them single and twisted and when you’re ready for some volume, you can untwist them and wear the texture they leave being in your hair.
How to do single two-strand twists
1. Prep your hair
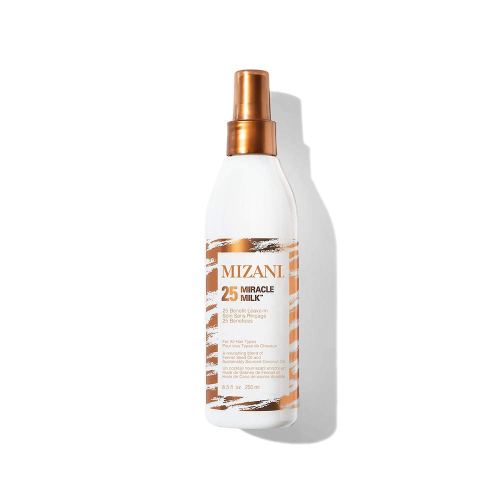
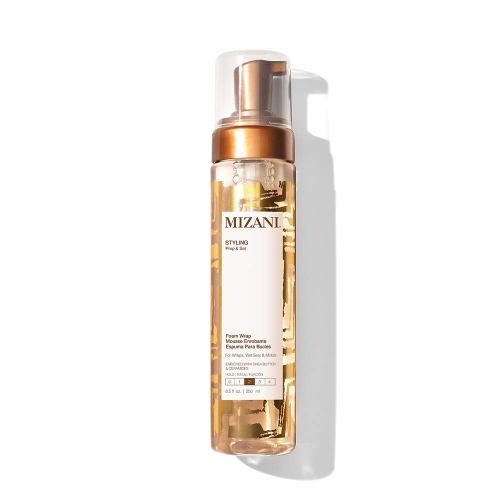
“To twist your hair you would first detangle, shampoo, condition, and section the hair,” says Edmonds. “After the hair is detangled, lightly mist with 25 Miracle Milk ($8 to $35), Foam Wrap ($18).”
Mizani 25 Miracle Milk Leave-In Conditioner — $8.00 to $35.00
Mizani Styling Foam Wrap — $18.00
2. Section your hair
“Start by sectioning the hair in two-inch horizontal sections starting at the nape,” says Edmonds. “Part a small quarter-inch section and divide that into two subsections.”
3. Start twisting
“Start twisting each subsection in between your thumb and pointer finger then twist the two pieces of hair together,” wrapping one piece around the other, until you reach the end, he says. “Continue each section and then move up to the top of the head in creating a brick layering effect.
4. Set the style
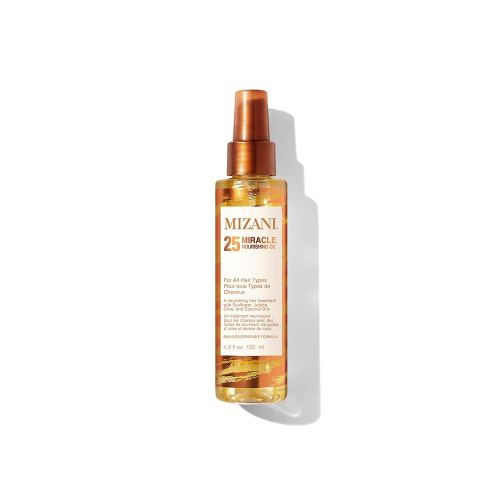
“Once the entire head is completed, sit under a warm hooded dryer until your hair is completely dry,” says Edmonds. “Apply 25 Miracle Nourishing Oil ($22) to add shine.” If you don’t have a hooded dryer, you can use your blowdryer to dry your hair.
Mizani 25 Miracle Nourishing Oil Lightweight — $22.00
5. Play with your twists
Once your twists are done, you can play with how you style them. Wear them straight down, half-up half-down, pulled into a ponytail—whatever makes you feel good.
Flat twists
Flat twists lay flat against your head, similar to cornrows. “Most people get flat twists when they like it pulled up or back,” says Edmonds. I’m a huge fan of flat twists and like to wear my hair in two big twists going straight back when I need a break from wearing wigs. They create a halo look, which I love.
How to do flat twists
1. Prep your hair
Follow the same steps that Edmonds outlined in step one of two-strand twists. “Key preparation points are detangling, shampooing, conditioning, and sectioning,” he says. You can get this look by twisting your hair wet and in its natural state or by blowing it out. I like to blow out my hair because it stretches it out, making it longer and easier to twist.
2. Section your hair
Part your hair into as many sections as you’d like to have. To get the above look, I parted my hair down the middle to create two sections.
3. Start twisting
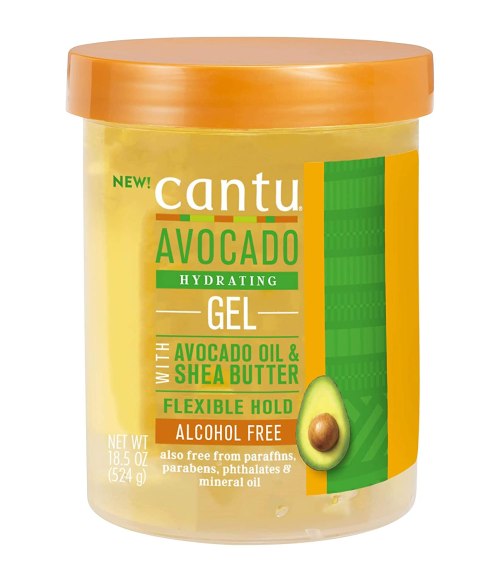
Getting a bit of the Cantu Avocado Hydrating Gel ($15) on your fingers, grab a two-inch section at the top of your head and twist them around each other once. As you move toward the nape of the neck, pick up two pieces of hair and add them to the twists, keeping the twists close to the scalp. “It’s very important that you keep your fingers on the scalp and very close together,” Stasha Harris, a hairdresser and owner of Magic Fingers Studio in Brooklyn, previously told Well+Good. While you’re twisting, she says you need that anchor finger to keep the twist down and on the scalp so it’s not coming loose as you make your way down.
Cantu Avocado Hydrating Gel — $15.00
Newsflash: You Can Wash Your Hair Every Day, According to This Haircare Brand Founder

Scarlett Johansson’s Morning Skincare Routine Is All About Simplicity—Here’s How She Starts Her Days Out Right

Tons of Elizabeth Arden Skincare Finds Are on Major Sale at Walmart Right Now—Here’s What a Dermatologist Is Eyeing

4. Set the style
If you braided your hair wet, now is the time to dry it either with a hooded dryer or a blow dryer.
Oh hi! You look like someone who loves free workouts, discounts for cutting-edge wellness brands, and exclusive Well+Good content. Sign up for Well+, our online community of wellness insiders, and unlock your rewards instantly.
Sign Up for Our Daily Newsletter
Get all the latest in wellness, trends, food, fitness, beauty, and more delivered right to your inbox.
Got it, you've been added to our email list.
