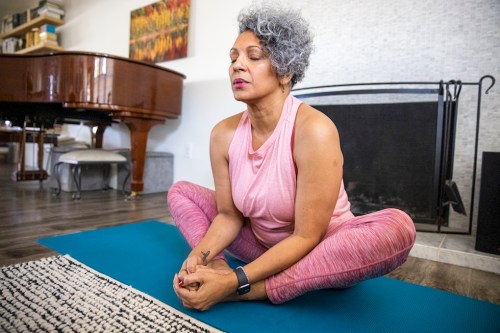
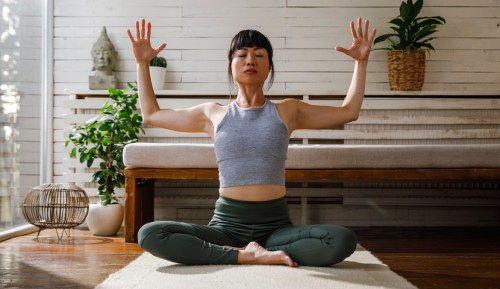
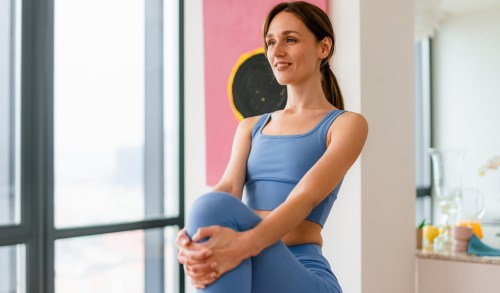
Yoga is hailed as being gentler on the joints than other forms of exercise, and it may even alleviate joint pain—which makes it an ideal choice for older individuals who need to engage in more low-impact forms of fitness or do a little bodily rehab. This doesn’t mean, however, that it’s not without its own risks when it comes to joint health. In fact, joint injuries are some of the most common types of yoga injuries. But that doesn’t mean you should abstain from yoga altogether if you’re concerned about wear and tear on your body.
Experts in This Article
Jonathan Troen is a certified Iyengar yoga teacher and the co-founder of Austin Tree Yoga.
Natalie Sapper is a yoga instructor and co-founder of the virtual studio 3 Friends Yoga.
“Some of the incredible health benefits of yoga for the older population are improved posture and coordination, strengthened muscles, increased flexibility, better balance, and boosted confidence and self-esteem,” says Natalie Sapper, yoga instructor and co-founder of 3 Friends Yoga.
In other words, yoga is typically a positive practice to take on, so it’s all about protecting your joint health while you flow. To that end, there are a few things to keep in mind if you want to maintain healthy ankles, knees, and hips, according to Jonathan Troen, a certified Iyengar yoga teacher, certified yoga therapist, and co-founder of Austin Yoga Tree. Below, he shares his top tips for doing so, while Sapper suggests a few specific joint-gentle poses and one full flow, too.
3 ways to protect your joints during yoga practice
1. Focus on muscles, not just joints
“Many times, the joints will take all the weight of the pose,” says Troen. “This is because the muscles aren’t working [optimally].” You may look like you’re in the right form, he says, but if your muscles aren’t engaging properly and stabilizing, then your joints overcompensate, which can lead to injury.
To help you visualize this adjustment, he suggests standing in mountain pose (aka Tadasana). “Instead of pushing your shin bones to straighten your legs, press your thighs back, engage and lift the quadriceps muscles, and compact the hips—imagine you are trying to squeeze the bone with the muscle,” he says. You can use this same idea in other poses such as tree pose (Vrksasana) and Half-Moon Pose (Ardha Chandrasana), too. “This will take pressure off the joints, and as a bonus, it will strengthen the actual bones,” he says.
2. Heed your hips, too
Your most famous joint—the knee—is one of the most crippling parts of your body in which to experience injury. But knee problems are often hip problems in disguise, says Troen. “So in order to release knee pain, you often have to start with the hips,” he explains. To do this, he recommends the following poses for hip TLC: Bound Angle Pose or Butterfly Pose (Supta Baddha Konasa and Seated Wide Angle Pose (Upavistha Konasana). “These poses help open the hips and groin, which will take strain off the knee,” he says. “Remember, engage the thighs.”
3. Utilize props to diminish joint pressure
Standing poses can put a lot of load on the ankles, knees, and hips, so Troen recommends utilizing a prop, such as a block or a chair, to raise one foot. “For example, in Warrior I or Warrior II (Virabhadrasana I or Virabhadrasana II), put the front foot on a block or chair. This height will reduce pressure on the knee,” he says. “It will also take some of the strain out of the pose, since you’re not fighting gravity as much, and then you can focus on engaging those quadriceps again.”
Natalie Sapper’s favorite yoga flow for the joints
Below, Sapper shares her favorite flow for the joints, which just so happens to be comprised of the foundational poses from Sun Salutation (aka Surya Namaskar A). “Practice this at least five times a week for the optimum benefit,” she says. “Move with the breath, linking one breath to one movement. Take your time, as if you are moving your body through thick molasses.”
1. Mountain (Tadasana)
Stand with your feet hip-width apart and parallel, with your weight distributed evenly. Think about aligning your hips over your feet, and shoulders over your hips, and keep your arms by your sides. Lift your chest lightly and hold for one breath.
2. Forward Fold (Uttanasana)
Keep your feet under hips, engage core, and fold forward toward the ground. Hold for one breath.
3. Half Lift (Ardha Uttanasana)
Inhale and lift your torso parallel to the floor so your upper and lower body form a 90-degree angle , resting your hands on your shins. Hold for one breath.
4. Plank (Phalakasana)
Use proper form to come into a high plank on your hands. Hold for one breath
5. Low cobra or upward facing dog (Bhujangasana or Urdhva Mukha Svanasana)
For low cobra, from your high plank, lower your body slowly to the ground in one long line, palms should be under shoulders, and elbows are narrow, keeping toes tucked. Slowly raise head, shoulders, and chest off of the floor by pushing down into forearms. Stay here, or point toes to press tops of feet into mat, press through palms to extend arms to straight, and lift lower body a few inches into the air. Keep your shoulders down away from your ears. Hold for one breath.
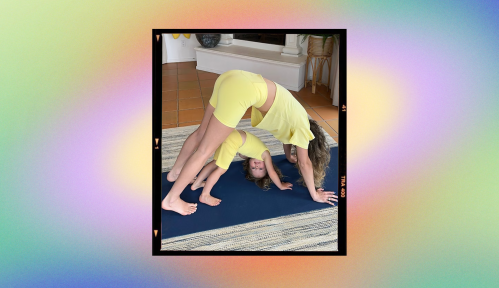
6. Downward facing dog (Adho Muhka Svanasana)
Push your hips up and back into downward-facing dog, and hold for one breath. Consider this your resting pose, which will strengthen your arms and stretch your shoulders.
7. Rise up to Mountain pose and begin again!
Additional yoga poses Sapper loves for the joints
- 1.Warrior 2
- 2.Side Angle
- 3.Triangle
- 4.Bridge
- 5.Pigeon on your back (aka figure-4 stretch)
- 6.Spinal Twist
- 7.Child’s Pose
Oh hi! You look like someone who loves free workouts, discounts for cult-fave wellness brands, and exclusive Well+Good content. Sign up for Well+, our online community of wellness insiders, and unlock your rewards instantly.
Sign Up for Our Daily Newsletter
Get all the latest in wellness, trends, food, fitness, beauty, and more delivered right to your inbox.
Got it, you've been added to our email list.
