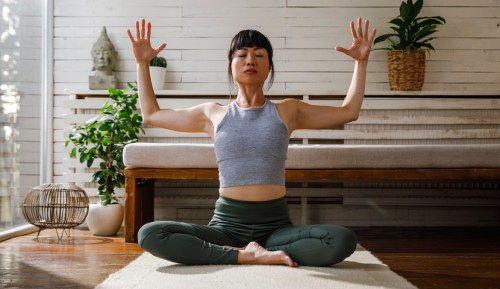
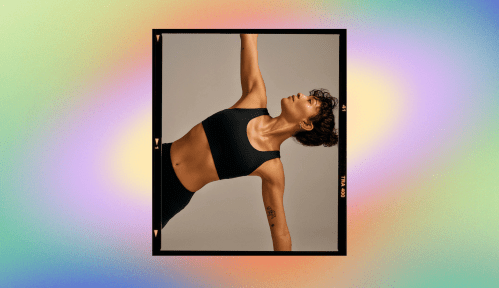
Squats and lunges will never not be part of leg day, but if you need a fresh way to work your lower-body, it’s time for us to introduce you to something that challenges your muscles and your mindset in equal measure—yoga for legs.
Experts in This Article
certified yoga instructor and founder of Undone, a pop-up yoga experience
Yoga might not be the first thing that comes to mind for challenging leg workouts, but trust us, it’s a game-changer. “The practice doesn’t just build physical strength, but mental strength as well,” says Paige Willis, RYT-200, certified yoga instructor and founder of Undone, a pop-up yoga experience.
“While it’s different from your typical leg day, building strength in yoga requires you to engage multiple muscle groups at a time and move with a wide range of motion,” she says. “Think of standing poses like chair pose and crescent lunge, where you have to engage the muscles in your lower body to find stability. If you hold these poses for several rounds of breath, you invite endurance into the equation, along with strength.”
For April 2024, we’ve asked her to host our Movement of the Month Club, focusing on yoga. And in Week 2, we’re focusing on lower-body yoga poses. Below, Willis demonstrates six poses that not only strengthen key lower-body muscles (glutes, quadriceps, hamstrings, and calves) but also improve your stability in ways that traditional workouts might miss.
Join the Movement
If you’re following along with our Movement of the Month Club, you’ll do one pose each day, Monday through Saturday. Then on Sunday, you’ll combine all the asanas together into a full 5-minute flow.
Do each pose for 50 seconds (25 seconds on each side, where necessary) before moving on to the next one, for a total of 5 minutes. If you’re feeling especially tight or if you have more time, feel free to do each move for as long as feels good.
1. Chair Pose (Utkatasana)
This pose strengthens your lower body (particularly your quadriceps and glutes) and challenges your balance, stability, and focus, while helping improve knee and ankle mobility.
- 1.Begin standing tall with your feet together and arms by your sides.
- 2.On an inhale, raise your arms overhead, reaching up toward the sky with your palms facing each other or touching, depending on your shoulder mobility.
- 3.Exhale as you bend your knees and lower your hips back and down as if you were sitting into an imaginary chair.
- 4.Shift your weight back into your heels, keeping your feet grounded and your toes light.
- 5.Keep your chest lifted and your spine long, avoiding rounding or collapsing forward.
- 6.Try to keep your biceps by your ears without raising your shoulders.
2. Power Lunge (Utthita Ashwa Sanchalanasana)
Just like lunges you may do at the gym, this yoga lunge variation helps strengthen your lower body (glutes, quadriceps, and hamstrings), as well as your abdominal muscles.
- 1.Begin in downward facing dog, hands shoulder-width apart and feet hip-width apart.
- 2.On an inhale, step your right foot forward between your hands, placing it near your right thumb.
- 3.Keep your left leg extended behind you, pressing through the ball of your foot and lifting your heel off the floor.
- 4.Bend your right knee to 90-degrees, stacking it directly over your ankle.
- 5.As you inhale, lift your torso and let your arms hang by your sides.
- 6.Exhale as you reach your arms behind you and fold your torso over your right thigh.
- 7.Inhale to come back to upright.
- 8.Alternate back and forth with your breath.
3. Crescent Lunge (Ashta Chandrasana)
Another yoga lunge variation, this one also strengthens your lower body and abdominal muscles and can help boost your mood and energy.
- 1.Begin in downward facing dog, with your hands shoulder-width apart and your feet hip-width apart.
- 2.On an inhale, step your right foot forward between your hands, placing it near your right thumb.
- 3.Keep your left leg extended behind you, pressing through the ball of your foot and lifting your heel off the ground.
- 4.Bend your right knee to 90-degrees, ensuring it’s stacked directly over your ankle.
- 5.As you inhale, raise your arms overhead, reaching up toward the sky with your palms facing each other or touching.
4. One-Legged Mountain (Eka Pada Tadasana)
Balancing on one leg at a time, as you do in this pose, develops strength and stability in that leg, while improving your balance and practicing your mind-body connection.
- 1.Begin standing tall with your feet hip-width apart and arms by your sides.
- 2.Shift your weight onto your right foot and lift your left foot off the ground.
- 3.Bend your left knee until your thigh is parallel to the floor.
- 4.Engage your core muscles to maintain your balance and stabilize your pelvis.
- 5.Keep your standing leg strong and steady, pressing firmly into the ground.
- 6.Gently lower your left foot back down to the ground and repeat on the other leg.
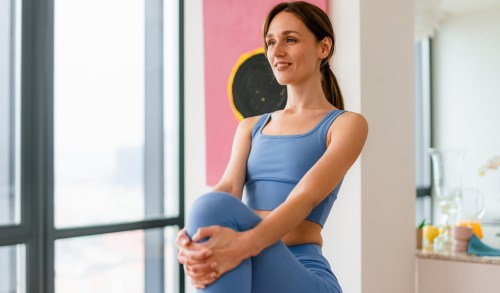
5. Standing Figure 4 (Eka Pada Utkatasana)
Keep a wall nearby in case you lose balance in this pose, which can be challenging. Standing figure 4 (a.k.a. single-leg chair) turns up the level of difficulty for one-legged mountain, making your standing leg stronger and stretching the hips and glutes of your raised leg.
- 1.Begin standing with your feet hip-width apart and arms by your sides.
- 2.Shift your weight onto your right foot and bend your left knee, lifting your left foot off the ground.
- 3.Cross your left ankle over your right thigh, creating a “4” shape with your legs.
- 4.Sit back into an imaginary chair by bending your right knee and lowering your hips down and back.
- 5.Release, stand back up, and repeat on the other leg.
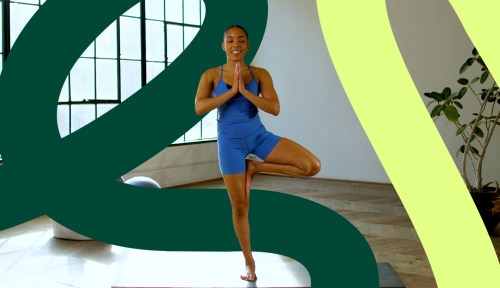
6. Tree Pose (Vrksasana)
As the last single-leg pose in this series, tree pose also improves balance, stability, and focus, while gently opening the hips and stretching the inner thighs.
- 1.Stand tall with your feet hip-width apart and arms by your sides.
- 2.Shift your weight onto your right foot and lift your left foot off the ground.
- 3.Bend your left knee and bring the sole of your left foot to rest against the inner thigh or calf of your right leg. Avoid placing it directly on the knee.
- 4.Lengthen through your spine and lift your chest, drawing your shoulders back and down.
- 5.Bring your hands together at heart center in a prayer position or extend your arms overhead with your palms facing each other.
Sign Up for Our Daily Newsletter
Get all the latest in wellness, trends, food, fitness, beauty, and more delivered right to your inbox.
Got it, you've been added to our email list.
